Sunday, March 31, 2013

Fake Washi Tape

This next project was my favorite one from the entire Regional. I couldn't wait to get home to give it a try myself.

First Carrie showed us a simple Make N Take.

This is just one of our pre-folded notecards and envelopes with some of our gorgeous DSP. Carrie used the Print Poetry from the Spring Mini (which I had never seen, but thanks to an amazing Prize Patrol, I now own!). She just cut a strip and stuck it  to the card and then stamped the sentiment  using Basic Black ink. One of cute little buttons finished off the look.


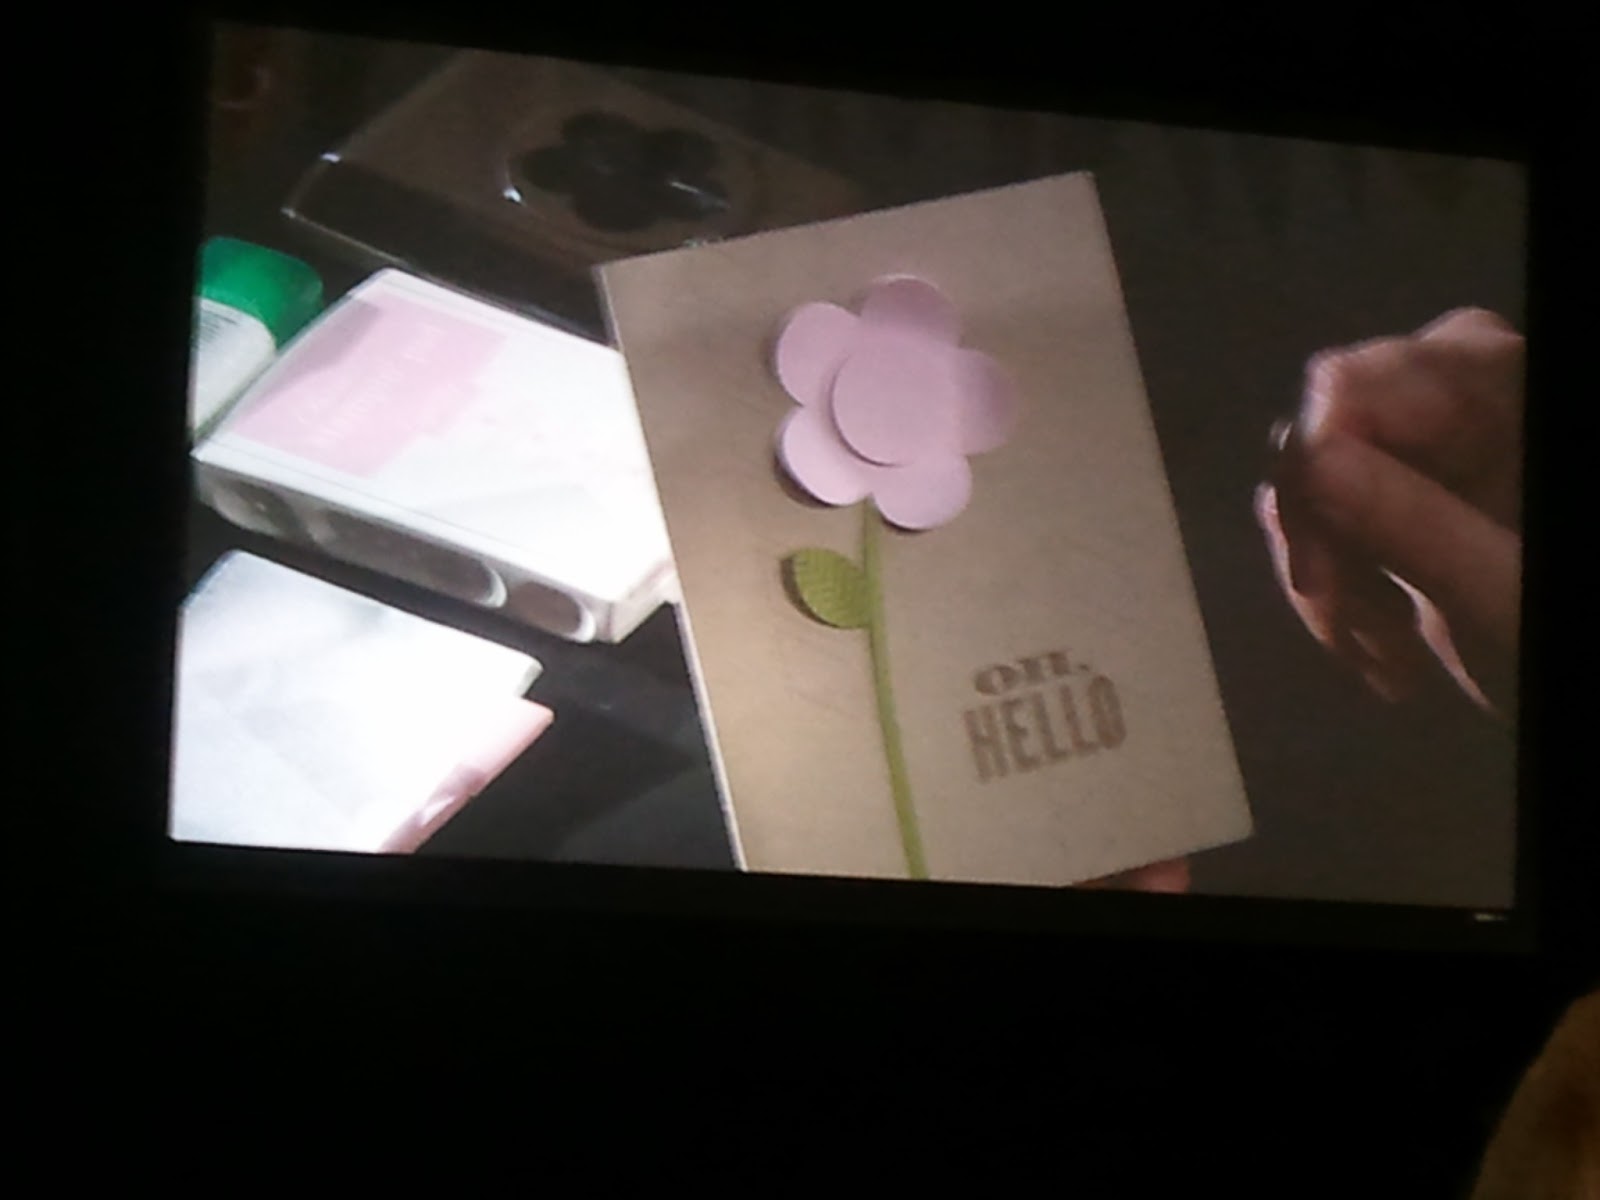
Personally I liked the card just as it was, a perfect make n take for an Express workshop, but of course Carrie had to show us one better. 

As you know, just last week, Stampin Up! introduced our new This and That line. Included in the line are three colors of Washi Tape. Personally I had never played with the stuff, but others at Regional were just raving about how easy it was to use to stick pictures or momentos into a scrapbook without all the fuss adding those can take. I'm excited to get my hands on some to play with, but haven't placed my order yet. Luckily Carrie had a solution for me. 

As I mentioned our Washi tape comes in three patterns that coordinate with our This N That line.


Carrie of course had to show us a stepped up version of this card using it. 


But what if I liked the DSP she used first? And what  if Washi tape is so great and I like it so much I want to use it with all our DSP lines? Well of course Carrie had the answer! You can make Washi tape out of any DSP! All it takes is a little scotch tape (yep the same stuff you use to stick notes to your fridge and wrap presents) a sponge and some water. 

Step number one.....cut a thin strip of DSP and cover it with scotch tape. Then flip it over to the side you don't want, and use a sponge and water rub off the opposite side of the DSP. 


In this example, the stripes are what was covered with the tape and the dark blue was the opposite side of the DSP. As you can see, after rubbing with water and a sponge all the blue will come off and leave you with a slightly translucent version of only the striped paper. This is so cool!

Once Carrie had done this to several pieces and allowed them to dry she put them on the front of the card and then stamped the sentiment directly on top. 


If I thought I liked the card before, it's nothing like now. I absolutely love this! Time to go buy some more Scotch Tape!


Saturday, March 30, 2013

Simple Kraft Box stepped up

The next project of Carrie's was a decorated Kraft gift box. As a firm lover of all things 3D, I was super excited to see this project. I have always enjoyed making things other than cards.

For this project, Carrie just stamped a little tag and tied it on with our Cotton Ribbon. This Ribbon was in the holiday mini, but luckily for us it is on the Carry Over list, so we can get it all year round! Fill it with a Stamp and an Ink Spot, or my personal favorite, Chocolate and you have a wonderful little gift for that co-worker or mailman.


But of course, Carrie couldn't leave well enough alone. She had to step it up. So next came the Ombre Ribbon technique. I hadn't ever thought of this, but I am sure excited to try it!

First she chose three complimentary colors and colored a stripe of each down the middle and sides of her ribbon.


The next step was to use the aqua painter to smooth the lines and allow the colors to bleed slightly into each other. 


She did caution us to allow the ribbon to dry before tying it on the package, so it may not be the best idea for an Express Workshop, but my oh my did it turn out gorgeous. I think it would be worth giving up another 15 minutes of my time!


Friday, March 29, 2013

Oh Hello Express workshop and Stepped Up Card

The next project Carrie Shared was this springy looking Oh Hello Card. This is such a cute stamp set, and a pretty easy card to make.
She just stamped the sentiment and Chevron stamp from the Oh Hello set on Kraft card stock with Kraft Ink and then Punched out the flower using a dimensional and circle punch to pop the center. The leaf and stem were cut by hand. Easy Peasy Mac and Cheesy.

But, what if your customers are way beyond the simple techniques shown on this card? Well give them something a bit stepped up.

For the stepped up version Carrie made a 3D flower.

First she brayered the Pretty in Pink ink onto a piece of Filter paper. She then folded the Filter paper so she had five layers, added a sticky note to the back for stability, and punched out all the flowers she needed at once.


She then folded the filter paper and stuck each folded piece onto the punched card stock base and came up with the wonderful three dimensional flower.


 Tada! A stepped up card for those more advanced customers. Once again, it only added a few minutes to the Make N Take. 


Thursday, March 28, 2013

Dapper Dad Card

One thing about Regionals is that you have to be fast. They cram so much information into such a short amount of time, that if you stop to take a drink, or chat with your neighbor, or heaven forbid, go to the ladies room, you might miss something!

That is exactly what happened to me. Carrie first showed the easy make n take, but of course I managed to miss taking a picture of it. It was simply stamped on white card stock and layered onto a card base run through an embossing folder. But you didn't really want to see that did you? What you want to see is the stepped up version of the card. That part I managed to get on film!

Carrie first used our Spritzers to spray a mix of alcohol and re-inkers onto a piece of window sheet. She then laid a piece of white card stock onto the window sheet and rubbed her had over it to get it to absorb the color. This beautiful washed out background is what she got.


 I wish you could see the before and after card, but the difference was amazing! Isn't it beautiful? And it only added a few seconds to the Make N Take project. By adding alcohol to the spritzer instead of water, the background dried almost immediately! She thought these colors reminded her of a golf course. As the daughter of an avid golfer, I will have to admit my Dad will most likely be getting one of these cards for Father's Day!


Wednesday, March 27, 2013

Carrie Cudney and Express Workshops


 Our next presenter was the amazing Carrie Cudney. I've had the privilege of hearing her speak on several occasions, and am always impressed with what she has to share. During the regional, she discussed Express Workshops. This is a type of workshop which can be done in one hour or less!


How awesome is that? I not only have heard my customers complain of not having enough time to host a workshop, but I know that those same words have come out of my mouth. In this day and age of working multiple jobs to support a family, rushing kids off to school and extra curricular activities, and general business of life, who can't make time for an hour or less of creativity!

There are some simple rules to follow when putting together an Express Workshop....


Once the business end has been taken care of.....the rest is simple. Do a simple make n take and then allow guests to mingle and shop! Wham Bam Thank You Maam! Your workshop is over and you and your guests have plenty of time to get home to take care of all those other obligations we call life. You can even offer the same Make and Take for the month, so all it would take would be to prep one project for the entire month!

This would be the perfect mini-get together for all those busy people you know. You could even put together an express workshop during someone's lunch hour! 

But what about those make n takes? Well leave it to Carrie to provide not only the simple make n takes, but a way to step up those projects for the more experienced stampers. Come back over the next several days, and I'll show you the easy projects as well as the stepped up versions Carrie demonstrated for us. 


Tuesday, March 26, 2013

Bonnie Thurber- Two Sided Paper Card

Well as usual, Regional was full of amazing products and tips. The first to speak was Bonnie Thurber (aka or Bonnie). Unfortunately Shelly was ill, so Bonnie came in her stead. While I'm a big Shelly fan, I'm probably an even bigger Bonnie fan. She is just so personable and likable and funny. While some may have been disappointed that Shelly wasn't there, I for one was glad to have Bonnie as the MC!


 So of course we had to do some business discussion. Bonnie talked about MDS and the new Hostess Code and online ordering. She mentioned how now, with the hostess code, now hostesses could get credit not only for what was sold during their workshops, but also online, and MDS downloads and printed projects count! How awesome is that? As someone who has the majority of my family and fellow stampers miles and miles away, it's nice to know that I can invite them to do a virtual workshop and have them help to support my business. That will come into effect later, but I'll talk about that another day.

So, on to the crafting. After the business stuff was done, Bonnie showed us an amazing gate fold card that shows both sides of our wonderful designer series paper. She also used the new (well at least new to me) Stampin Trimmer. As usual, she had a wonderful suggestion on keeping the scoring and cutting blades straight. She mentioned that the lighter blade makes the lighter impression while the darker blade makes the darker one. Light=score Dark=cut. She also recommended putting them in alphabetical order on the board, so the cutting blade stays at the top (since it starts with C) and the scoring blade stays at the bottom (since it starts with S). Simple little techniques, but as one who has been notorious for cutting instead of scoring...this will be immensely helpful!


So, now to show the card that she made. I apologize for my pictures. Unfortunately I overslept Saturday morning, so I forgot to grab the camera and only had my phone to take the pics. I think you should be able to get the idea though!
Here are the Measurements

Trim off the Corners so they match on both sides of the card.

Stick the trimmed off corners inside the card showing the other side of the Designer Series Paper

Stamp your sentiment of choice and adhere it to the front of the card

Stamp an image or sentiment inside the card

This works with all our Designer Series paper. It's made to match!

TaDa....The finished Card

While these directions may be as clear as mud, no one ever said I was good at explaining. If you really want to make one of these cards, Dawn Olchefske has a great tutorial Here

Make sure you come back tomorrow to see What Carrie Cudney had to say about Express Workshops and what great projects can be done in less than an hour!


Monday, March 25, 2013

Stampin Up, Spiderman and The Hulk!

One of the things that made this Regional so special, was the interesting convention going on next door. We were lucky enough to have Comic Con in St. Louis for the first time happening at the same time as the Regional. While this was entertaining with all the costumed fans heading into the conference room next door, it also became one of my highlights.

First Andrea Withers from home office made a funny joke for those of us priviledged to be both Stampers and Nerds.....Lou Ferigno, aka the Incredible Hulk, was next door. We shared a wall with Comic Con, and Andrea kept saying she expected Lou Ferigno to come through the wall and yell "Hulk Stamp!" While it's possible that many in the crowd didn't appreciate or "get" her humor, I personally thought it was hilarious!

But the most awesome thing that happened during this strange mix of Comic Con and Stamping Up! was a fluke. I was heading out for a break during our Make N Take session, and who should I see being escorted through the building? None other than the great Stan the Man Lee! Of course my camera was back on the table in the stamping room, but it sure was amazing. The first thing I did was call my nine year old son and my husband to let them know that I actually saw "Spiderman's Dad"! Needless to say they were both pretty jealous. I bet Matt wishes he had signed up to go to the Regional as my guest!
+ 

+


= AWESOME!


Sunday, March 24, 2013

Stampin Up Regional!!!!

So yesterday was the Regional in St. Louis. I've never been to a Regional before, but boy was it fun. I've forgotten how amazing it is to get together with like minded people and spend the entire day doing nothing by stamping, talking about stamping, seeing new ways and things to stamp, etc. I took tons of photos, and for the next several days will be sharing all that we saw and learned while we were there. While the threat of snow was looming, (which by the way, still hasn't happened yet!) we still buckled down and went wild with techniques and samples. All my swaps were exchanged and wait until you see the amazing projects I got in their stead! So, make sure you check back daily so you don't miss a moment!

Have a safe and snowy Sunday.


Friday, March 22, 2013

More fun with Paper Beads

Ok, I admit it. I'm addicted to these embossed paper beads. Here is another necklace I made using DSP. I'm having so much fun making these. Now I just need to find clothes that match the jewelry I'm making so I can wear it!


Wednesday, March 20, 2013

Paper beads and Embossing

Ok, I guess the shamrock pins started me on a roll. I got to looking around the internet for tips and tricks, and found all these cool things you can do with embossing powder! These are paper beads. Small triangles of paper rolled around a dowel and then dipped in melted embossing powder. The DSP is retired, but it is one of my favorites ever, so why not make a necklace out of it. I think this turned out pretty cool. And, I have to get better.......well, time to go practice some more :) No honey, I'm not slacking...I'm practicing....you will have to cook dinner tonight!


Monday, March 18, 2013

It's a Mouse!

I'm a punch art fanatic. I love putting all those little pieces together to build a new character. I just think it is so cool. Unfortunately, it is time consuming. So, when I was trying to find a punch art card I could take with me as a SWAP for regionals, I was having a hard time. I wanted one that was cute, but that wouldn't take up the next three weeks to make. I found this one and have to say it fit the bill. It was a bit more work than I thought at first, but I was able to put some together to swap. I think it is a pretty adorable card, and I'm hoping people will want to swap with me!


Friday, March 15, 2013

Finished Pins!!

I got the pins all done. My technique could be improved, but I still like the way they turned out. I was going to give these to my son's class at school, but I am thinking I will probably just hand them out myself. There is no way I'm going to waste all that effort on third graders! :) So, now it's off to make something the kids will like. I'm thinking anything green with CANDY!


Thursday, March 14, 2013

Got Green?

So, for some reason, I decided to try the jewelry making I have seen on blogs all over the internet. You use embossing powder, melt it, and completely slather your project. These are shamrock pins for St. Patrick's Day. My plan is to put them on tags stamped with the Got Green stamp from the Got Treats stamp set. I'm still working out the kinks (like making sure the pins are secured tightly to the back!) but all in all I thought they turned out pretty well. I used the small heart punch and several different types of DSP to adhere on top of the Got Green stamp that I cut out....by hand! My plan is to try a few more of these with different styles to see if there are any that might work for 3D swaps at either Regionals, or Convention if I can't get it right by the 23rd of March. What do you think? Do you have any tips or tricks to make these come out a bit better?


Wednesday, March 13, 2013

It's a Piggy Swap

Here is another card I made to take to Regional to swap. Something about those Button Buddies I just love!

I think he turned out pretty darn cute, what about you?